Waterproofing Tips for Deep Water Crossings
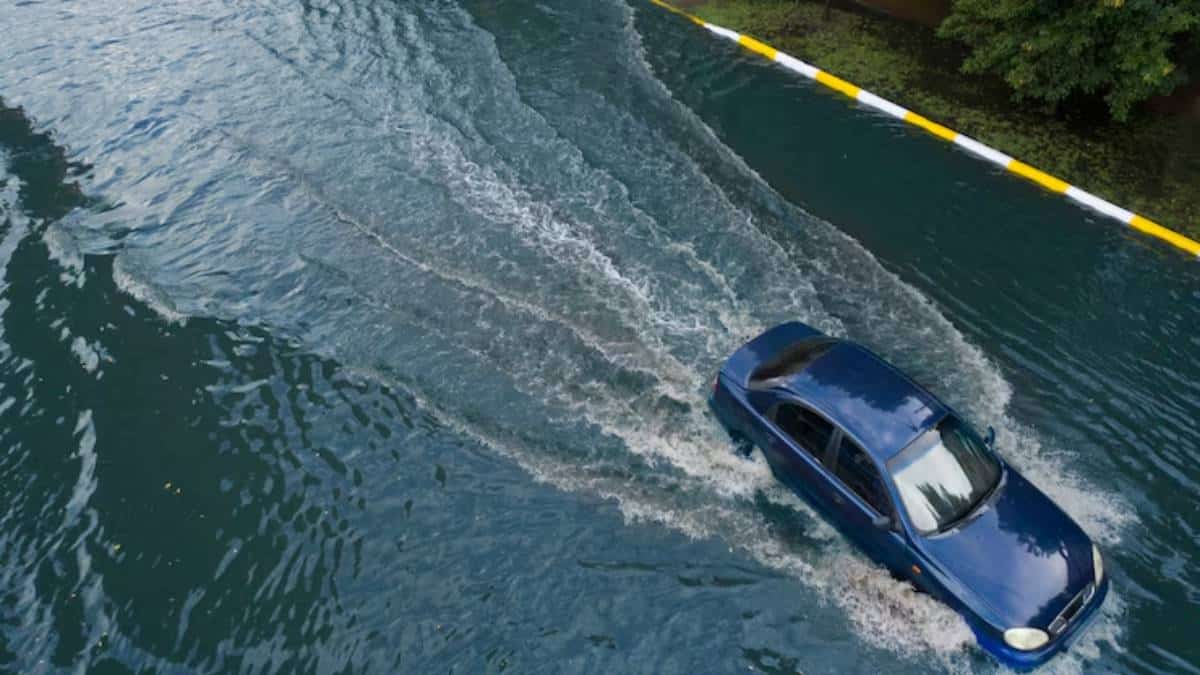
You’re halfway across a river crossing when the current pushes harder, and your engine begins to sputter. It’s the moment every off-roader dreads—and a powerful reminder that waterproof off-roading isn’t just about bold driving. It’s about careful preparation.
Deep water crossings test every part of your 4×4, from the intake system to the electronics. With the right gear and know-how, you can cross confidently while protecting your vehicle from costly damage.
This guide covers the critical tools, techniques, and strategies for snorkel kit installs, sealing methods, and overall 4×4 water safety. Because when it comes to water, confidence comes from preparation—not luck.
Why Water Crossings Demand Preparation
Unlike dust or mud, water gets into everything. It only takes one splash in the wrong place to stall your engine or shorten a critical system.
Risks Include:
- Hydrolock from water entering the air intake
- Electrical shorts from exposed connectors
- Contaminated diffs and gearboxes from breather ingress
- Warped brakes from fast cooling
Water can also hide holes, rocks, or drop-offs. Even shallow crossings can be dangerous without a plan.
Install a Snorkel Kit: Your First Line of Defence
A snorkel is more than a statement piece—it elevates your engine’s air intake above bonnet level, drastically reducing hydrolock risk.
Snorkel Kit Basics:
- Typically mounts to the A-pillar and connects directly to the factory airbox
- Sealed with rubber grommets, silicone, or clamps
- Must be watertight from snorkel head to engine intake
Snorkel Install Tips:
- Use marine-grade sealant around joints
- Check for air leaks with light smoke or suction tests
- Add a snorkel pre-filter for dusty regions
Make sure your kit is vehicle-specific and not a generic fit. A poor seal can do more harm than good.
Waterproofing Electronics and Connectors
Electrical failure in water can leave you stranded. It only takes a few minutes of prep to avoid hours of recovery.
What to Seal:

- ECU plugs and loom ends
- Headlight and taillight housings
- Sensor connections (ABS, throttle, etc.)
- Fuse boxes and relays
Tools to Use:
- Dielectric grease for waterproofing connectors
- Heat shrink tubing on custom wiring
- Rubber grommets around firewall pass-throughs
Keep a small electrical repair kit in your rig in case of an emergency.
Extend Your Differential and Transmission Breathers
Breathers allow hot air to escape from your diffs and gearboxes, but they also let water in when submerged.
Breather Extension Tips:
- Route hoses to high points in the engine bay
- Use a fuel hose or breather-specific tubing
- Add mini filters to prevent debris entry
Check breather caps regularly. Water in diff oil is easy to miss and expensive to fix.
For full underbody protection, pair this setup with the advice in our guide on protecting your undercarriage from trail damage.
Water Crossing Safety Techniques
Waterproofing your 4×4 is one half of the equation. The other half is technique.
Key Safety Tips:

- Walk the crossing before driving (if safe)
- Check depth, current, and bottom firmness
- Enter slowly and maintain a steady throttle
- Use low-range first gear (or second for manuals)
- Create a bow wave in front of the vehicle
Avoid gear changes mid-crossing—they reduce momentum and risk stalling.
Real-World Crossing Scenarios
In a Welsh riverbed crossing, one driver with a sealed snorkel and extended breathers completed five back-to-back crossings. A nearby vehicle without breathers sucked in water through the rear diff and needed a fluid flush the same day.
In the Victorian High Country, a modified 4×4 with an unsealed snorkel failed mid-crossing, taking on water through a split join. The recovery cost the group an entire day. Post-trip inspection revealed water inside the air filter and MAF sensor.
These experiences underline one truth seal everything before trusting your setup.
Post-Crossing Checklist
After a deep water run, inspect your vehicle thoroughly
What to Check:
- Airbox for moisture
- Diff breathers for water ingress
- Brake response—wet pads reduce stopping power
- Wheel bearings (repack if submerged repeatedly)
- Engine bay connectors for signs of corrosion
Carry spare filters, clean rags, and brake cleaner for quick trail fixes.
When Not to Cross
Sometimes the smart move is to stop.
- The water is deeper than the tyre mid-height (unless properly prepped)
- The current is fast enough to push a vehicle
- You’re solo without recovery gear
- You can’t see the bottom
Know your limits—and your vehicle’s.
Conclusion: Cross Smart, Not Just Strong
Water crossings look dramatic on video, but they require real prep to pull off safely. With a snorkel kit, sealed electrics, and extended breathers, you’ll be ready to handle wet terrain with skill and confidence.
Add in smart decision-making and post-crossing checks, and you’ll avoid the expensive mistakes that trap so many drivers.
Want to take your recovery planning further? Read our guide on best winches for off-road recovery to round out your water-safe build.
