How to Install a Winch on Your Off-Road Rig
Picture this: you’re deep in the backcountry, alone or with mates, and suddenly your 4×4 bogs down in soft sand or mud. There’s no traction, no phone reception, and no easy way out—unless you’ve got a winch. Knowing how to perform a proper recovery gear install isn’t just useful—it can be the difference between a minor delay and a major expedition setback.
This guide breaks down exactly how to do a full 4×4 winch setup—from selecting the right unit to wiring, mounting, and testing it. Whether you’re upgrading your overland rig or prepping for solo bush travel, a securely mounted winch means confidence when the track disappears.
Understanding the Core: What a Winch Is and Why It Matters
A winch is a mechanical device, powered by your vehicle’s battery, designed to pull your 4WD out of trouble by winding in cable or synthetic rope under tension. It’s mounted to the front (or rear) of the vehicle on a bull bar or bumper winch plate.
Benefits of a Proper Winch Setup:
- Self-recovery in remote areas
- Assisting others in group trips
- Lifting gear or obstacles during setup
- Controlling descents and recoveries
According to 4WD Recovery Australia, winches are among the top three must-have tools for remote travel, alongside traction boards and rated recovery points.

Quick Guide: Installing a Winch on Your 4×4
- Choose a winch rated 1.5x your vehicle’s weight
- Confirm a winch-compatible bull bar or mounting plate
- Install the winch and fairlead to your bar
- Connect the winch’s positive and negative leads to the battery
- Mount the control box in an accessible, dry location
- Route cables away from heat and moving parts
- Test the winch under no load, then light load
Step-by-Step Guide: Full 4×4 Winch Setup
1. Choose the Right Winch for Your Vehicle
Your winch should have a minimum pulling capacity of 1.5 times your rig’s GVM (Gross Vehicle Mass). For a 3,000kg vehicle, aim for a 4,500 kg-rated winch.
Types of Winches:
- Electric (12V): Common and easy to install
- Hydraulic: More durable, but harder to retrofit
- Synthetic Rope vs Steel Cable: Synthetic is lighter and safer under tension
2. Prep Your Mounting Surface
Most winches require a winch-compatible bull bar or dedicated winch cradle. Remove the bar and install or inspect the mounting plate. Ensure all bolts, brackets, and backing plates are strong enough to handle the load.
3. Install the Winch to the Mount
- Line up the winch on the cradle or bar
- Insert mounting bolts from the base or front
- Use high-tensile bolts (usually M10–M12)
- Tighten to the manufacturer’s torque specs
4. Fit the Fairlead and Hook
The fairlead guides the rope and reduces friction. Use a hawse fairlead for synthetic or a roller fairlead for steel cable.
- Mount directly to the front of the bull bar
- Thread the rope through the fairlead
- Attach the hook with a clevis pin or soft shackle
5. Connect the Winch to the Battery
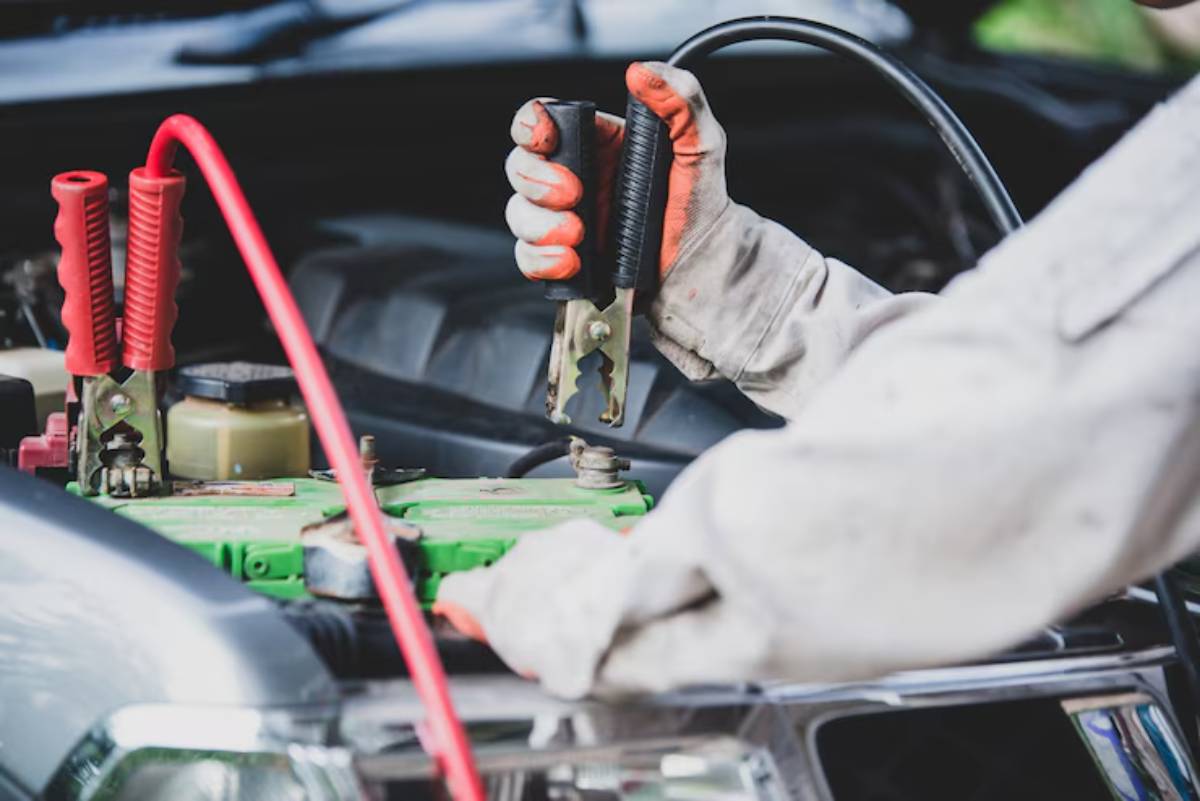
- Route the positive cable (red) to the battery terminal
- Connect the negative (black) cable to the chassis or battery
- Use supplied fuses or isolators to protect the circuit
Important: Disconnect the battery while wiring. Always secure cables with zip ties and avoid sharp edges.
6. Install the Control Box
Mount the control box close to the winch or in the engine bay. Keep it dry and accessible. Some allow remote mounting for cleaner installs.
- Plug in the solenoid cables to the winch motor
- Use waterproof connectors where available
7. Initial Testing
- Reconnect the battery
- Engage the winch clutch
- Spool in the rope slowly under light tension
- Test both directions using the wired or wireless controller
Warning: Never stand in line with a tensioned rope during testing.
Pro Tips, Important Notes & Warnings
Pro Tip: Mount a winch isolator switch near the driver seat for quick shut-off in emergencies.
Important: Synthetic rope must be re-spooled neatly after every use to avoid kinks and binding.
Warning: Do not mount the winch on thin alloy bull bars or non-rated brackets—it may fail under stress.
Secret Tip: If you’re often in muddy or wet terrain, rinse and dry your winch rope after each trip to prevent mould and fraying.
Best Practices & Additional Insights
Tensioning the Rope Correctly
Once installed, re-spool the entire rope under load. This compresses the layers properly and avoids uneven spooling, which can damage the winch drum.
How to Do It:
- Anchor to a tree or solid point
- Put the vehicle in neutral
- Use the winch to pull your rig slowly forward
- Keep steady tension on the rope
Maintenance Habits
- Inspect connections and terminals monthly
- Unspool and check the rope for frays every season
- Lubricate the drum and motor as per your manual
Upgrade Ideas
- Wireless remote controllers
- Synthetic rope protectors or sleeves
- Mountable rope dampers
- Winch cradles for rear recovery setups
If you’re building your off-road setup from the ground up, also consider a budget-friendly overland rig build to optimise your entire platform.
FAQs
What size winch do I need for my 4×4?
Use a winch rated at least 1.5 times your vehicle’s GVM. A 3,000kg vehicle needs a 4,500kg winch minimum.
Is synthetic rope better than steel cable?
Yes, for most users. Synthetic is safer, lighter, and easier to handle, but it requires more care.
Can I install a winch without a bull bar?
Only if your vehicle has a winch-compatible cradle or bumper. Most factory setups are not strong enough.
Do I need to upgrade my battery or alternator?
Possibly. Winches draw a lot of current. A dual battery setup is recommended for frequent use.
How often should I inspect my winch?
Before and after every trip. Monthly checks for corrosion, frays, and battery connections are best.
Ready to Recover with Confidence?
Installing a winch might sound intimidating, but with the right tools, a weekend, and a bit of patience, it’s a game-changing upgrade. A properly installed winch gives you the power to recover yourself, help others, and travel deeper with confidence.
Treat your winch like a lifeline—it deserves regular care, proper usage, and thoughtful installation. By following this install winch guide, you’re not just adding gear; you’re building capability.
For those pairing this install with a broader kit-out, don’t miss our tips on how to use recovery boards effectively for a comprehensive recovery system.
Now, go wire it in, test it out, and hit the trail prepared. Because the right recovery gear doesn’t just get you out—it gets you moving forward.
