How to Wire Your Vehicle for Auxiliary Power
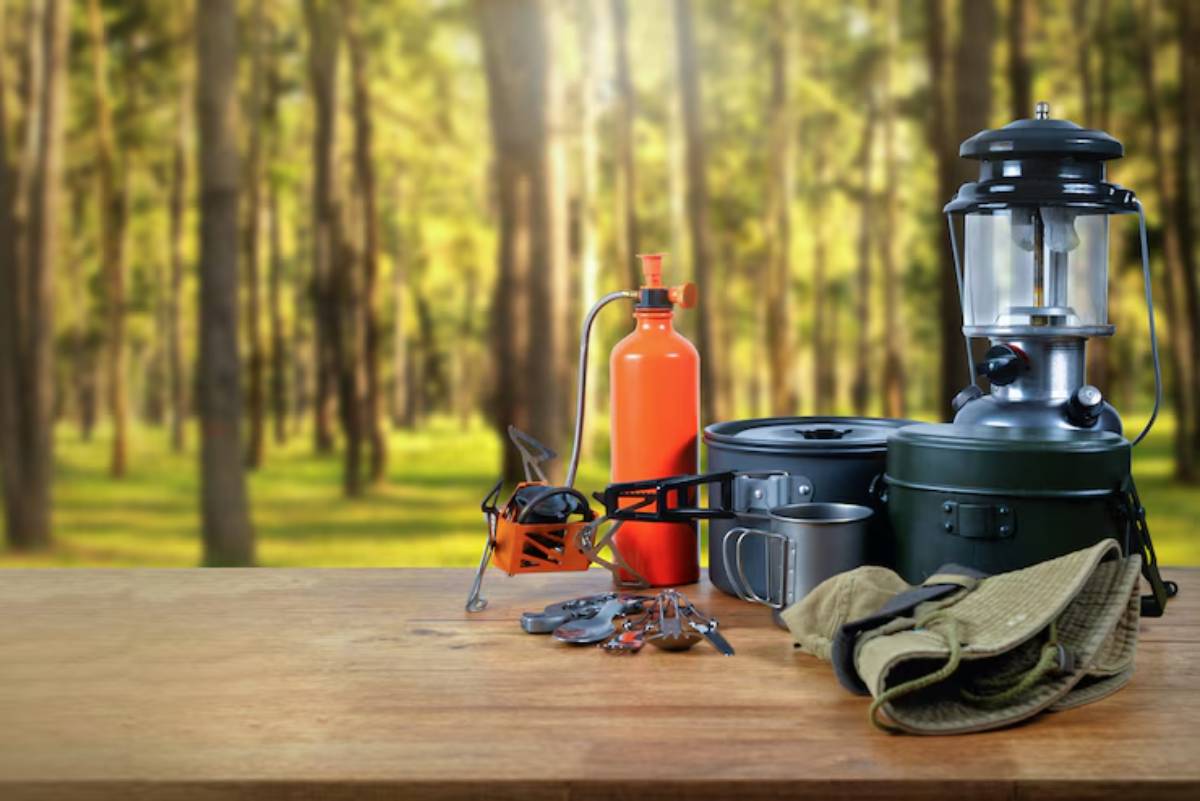
Imagine this: you’ve set up camp in a remote gorge, the fridge is humming quietly, your camp lights are glowing, and your devices are charged—all without touching your starter battery. That’s the power of a well-wired auxiliary system.
A proper 12V system install is the beating heart of modern overland rigs. Whether you’re out for three days or three weeks, an auxiliary setup ensures your fridge, lights, pump, and gadgets run independently of your ignition. And with a robust dual battery setup, you’re not just travelling—you’re thriving off-grid.
In this expert guide, we’ll walk you through planning, installing, and maintaining an overland power wiring system that won’t leave you stranded or short-circuited.
Understanding the Core: What Is an Auxiliary Power System?
An auxiliary power system adds an additional 12V battery (or more) to your vehicle, separate from the main starter battery. This second battery powers your accessories, so you can run camp gear without flattening your cranking battery.
Core Components:
- Dual batteries: One starts the engine, the other powers accessories
- DC-DC charger or isolator: Manages charging between batteries
- Fuse block or distribution hub: Safely runs multiple 12V devices
- Cabling and earth points: Connect everything securely
- Solar panels (optional): Keeps your system charged longer
Whether it’s a weekend beach run or a 10,000km trek, proper setup means independence—and no jump-start dramas.
Quick Guide: Dual Battery Install Overview
- Choose your auxiliary battery Deep cycle AGM or lithium
- Select a charging method DC-DC charger or isolator
- Install the battery tray and secure the battery
- Run heavy-gauge cabling with fuse protection
- Mount the charger close to the auxiliary battery
- Wire in a fuse block for accessories
- Test voltage, polarity, and charging behaviour
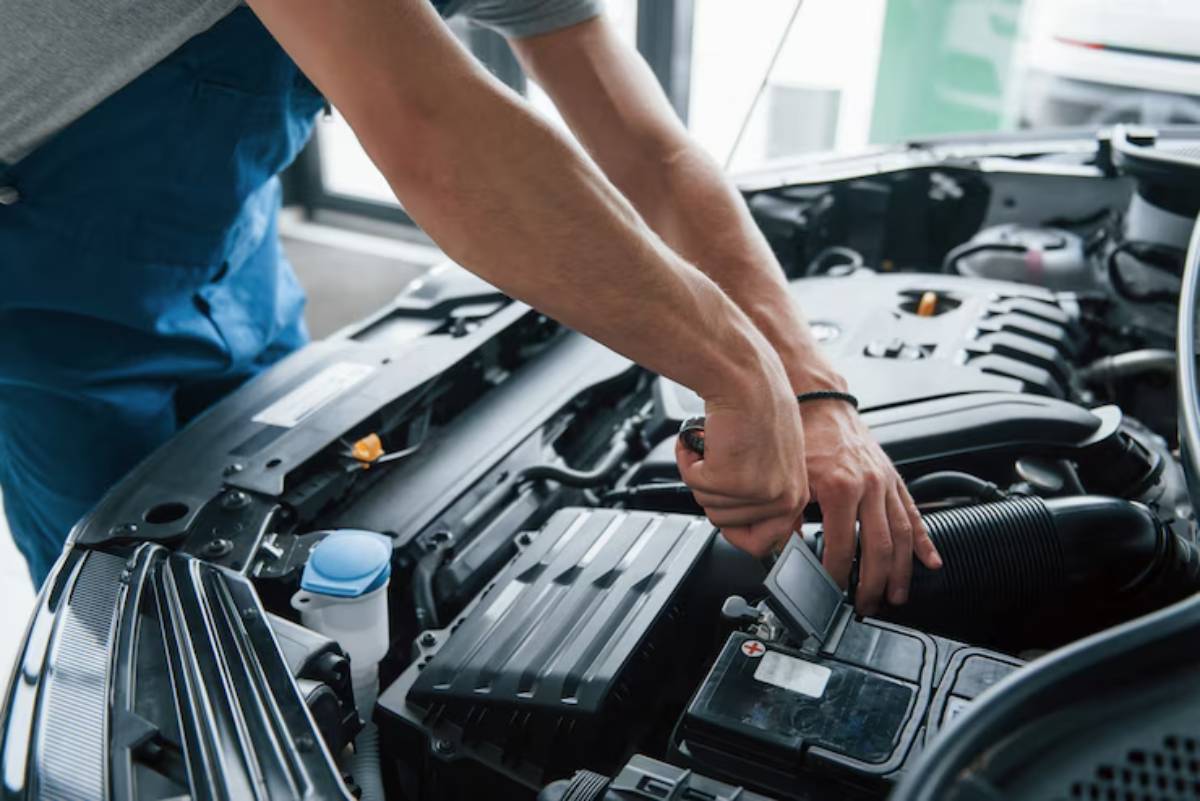
Step-by-Step Guide: 12V System Install for Overlanding
1. Choose the Right Batteries
Your starter battery is for ignition only. Your auxiliary should be a deep cycle battery—built for steady output over long periods.
Common Options:
- AGM (Absorbed Glass Mat): Reliable and affordable
- Lithium (LiFePO4): Lightweight, fast-charging, longer life
Capacity:
- 100Ah is standard for most setups (fridge + lights + charging)
Location:
- Engine bay, rear tub, drawer system, or canopy
2. Decide on Charging Method
- Isolator: Simple, switches batteries in/out of the charge loop
- DC-DC Charger: Best option for modern vehicles with smart alternators
DC-DC chargers regulate voltage and protect lithium chemistry, making them ideal for longer trips.
3. Install the Battery Tray
Use a bolt-down tray matched to your vehicle model. Avoid straps-only setups in off-road conditions.
- Secure using anti-vibration mounts
- Double check clearance and heat exposure
4. Run Main Cables Safely
Use 8–6 AWG cable or thicker for long runs (engine bay to rear).
- Protect with split loom or conduit
- Use quality lugs, properly crimped
- Earth to bare chassis point with ring terminals and star washers
Include a fuse or circuit breaker (100A typical) at both battery ends.
5. Mount Your DC-DC Charger
Mount close to the auxiliary battery (not under the bonnet for lithium).
- Use a metal surface with airflow
- Avoid direct water exposure (use sealed units if needed)
Connect the inputs from the starter battery and outputs to the auxiliary.
6. Wire in Accessory Outputs
Use a fused distribution block or fuse panel to run.
- Fridge (with Anderson or cig socket)
- LED lights
- Water pump
- USB ports
Label circuits and leave slack for servicing.
7. Test and Monitor Your System
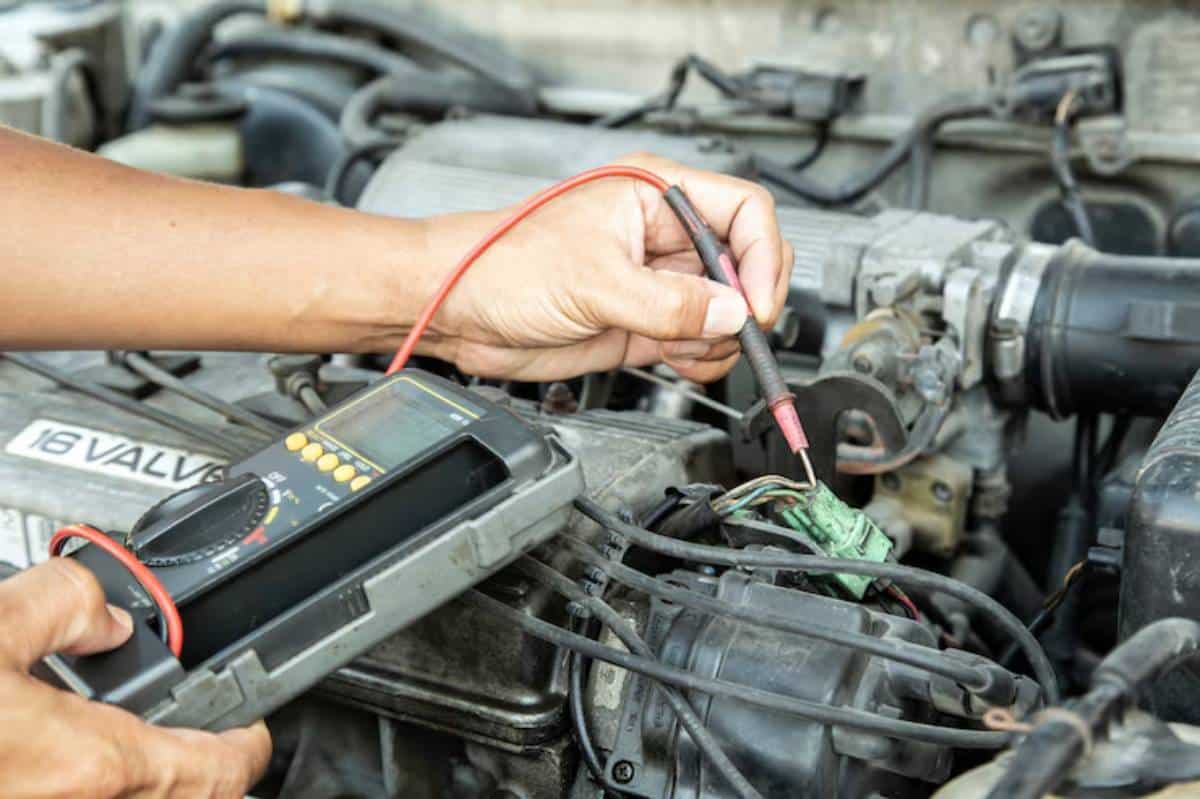
Use a multimeter to check.
- Charging voltage (13.8–14.6V typical)
- Polarity of all accessories
- Current draw under load (use clamp meter)
Add a voltage monitor or Bluetooth battery monitor for tracking.
Pro Tips, Important Notes & Warnings
Pro Tip: Pre-wire before mounting hardware. Lay out your system on the floor to visualise paths.
Important: Always fuse positive cables within 30cm of each battery terminal.
Warning: Never mix battery chemistries (e.g., AGM + lithium) in the same loop.
Secret Tip: If you camp for long periods, a 200W solar panel with MPPT regulator can top up your aux battery daily.
Important: Use heat-shrink and adhesive tape to weatherproof exposed joins.
Best Practices & Additional Insights
Use Anderson Plugs for Modular Flexibility
Want to move your fridge from the cab to the canopy? Anderson plugs make gear swappable without rewiring.
Colour code your plugs to avoid mixing live outputs.
Think About Future Expansion
Even if you’re only powering a fridge now, add spare fuse block slots and cable access points for later upgrades (e.g. air compressors, inverters).
Make It Maintenance-Friendly
Mount your fuses, charger, and monitor in a space you can reach without unpacking half the rig.
If you’re refining your overall trail readiness, combine this wiring setup with smart off-road trip prep to ensure every camp runs smoothly.

FAQs
What size cable should I use for my 12V system?
For runs under 3m, 8AWG (8mm2) is minimum. For fridge circuits or longer runs, 6AWG or larger is ideal.
Can I wire everything straight off my battery?
Technically, yes, but it’s risky. Always use a fuse block to isolate circuits safely.
Do I need a DC-DC charger if I’m only running AGM batteries?
It’s recommended, especially with smart alternators. Chargers improve battery health and charge faster.
How do I stop parasitic draw when not using my rig?
Install a battery isolator switch or pull the fuse for major loads. Use a solar trickle charger if parked long-term.
Is lithium worth it over AGM?
Yes, if your budget allows. Lithium is 50% lighter, faster to charge, and lasts 2–3 times longer.
Power Your Adventures the Smart Way
Wiring your vehicle for auxiliary power is a one-time upgrade that pays off every single day on the trail. With a safe, well-planned 12V system install, a reliable dual battery setup, and bulletproof overland power wiring, you can light your nights, cool your drinks, and charge your gear—without stressing about starts.
This isn’t just about volts and amps. It’s about freedom.
So grab your multimeter, plan your layout, and wire it once—wire it right.
And if you haven’t already, add a recovery-ready foundation with our install winch guide to complete your off-grid readiness.
