Building a Budget-Friendly Overland Rig
Dreaming of off-grid travel but worried about the cost? You’re not alone. Building an overland vehicle doesn’t have to drain your wallet or require a full-time workshop. With smart planning, used gear, and a few DIY tricks, you can create a capable, comfortable, and affordable 4×4 setup that’s ready to hit the trail.
A budget overland build isn’t about cutting corners—it’s about prioritising what really matters. It’s about gear that works, not gear that just looks good on Instagram. And most importantly, it’s about making overlanding accessible to more people, regardless of income or mechanical experience.
This guide will show you how to approach a DIY trail vehicle project on a realistic budget. From vehicle selection to storage hacks and energy systems, we’ll cover every major decision and where you can save, without sacrificing reliability or safety.
Start with the Right Base Vehicle
Your rig’s foundation sets the tone for your entire build.
What to Look For:
- Reliable engine with a strong service history
- Proven off-road capability (low-range gearbox, ground clearance)
- Simple mechanical systems (easy to repair)
- Existing accessories (bull bar, roof rack, snorkel)
Best Budget Platforms:
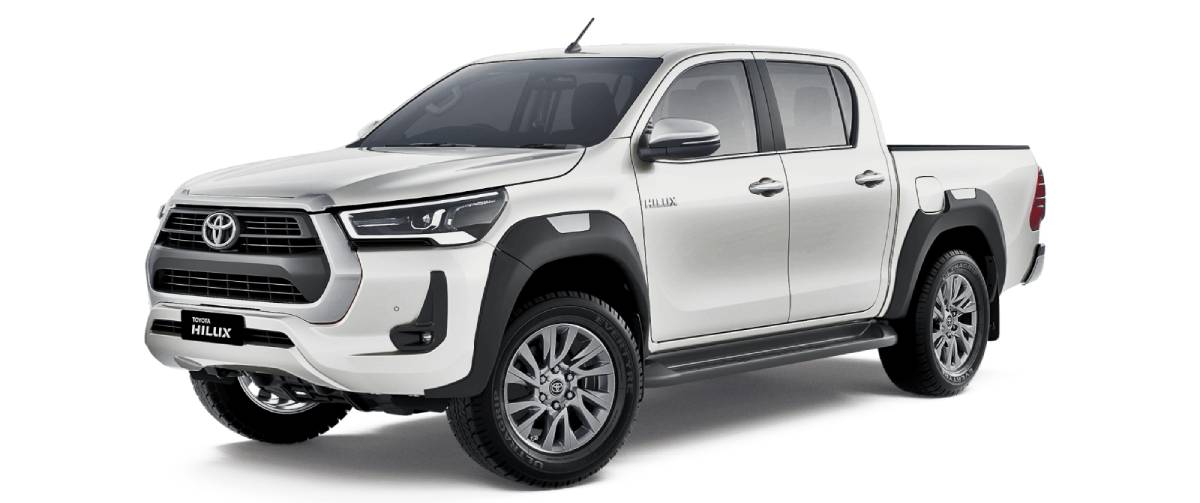
- Toyota Hilux (older models)
- Nissan Patrol or Navara D22
- Mitsubishi Pajero or Triton
- Jeep Cherokee XJ or early Grand Cherokee
- Ford Ranger (PX1 generation)
Aim for a vehicle with fewer electronics—fewer to fail in the bush. Prioritise function over flash.
Prioritise Modifications That Add Real Value
Forget the Instagram gear pile. Focus on the basics that improve capability and comfort.
Modifications Worth Budgeting For:
- All-terrain tyres: Essential for traction and durability
- Suspension upgrade: Modest lift + shock absorber refresh
- Recovery points: Front and rear rated tow points
- Roof rack: For flexible storage and load organisation
- Basic 12V setup: To power lights, fridges, and charge devices
If you’re still planning what upgrades to prioritise, our guide on best brush guards and bumpers for trail use offers some great insight into entry-level protection that makes a difference.
Save on Storage with DIY Builds
You don’t need a full drawer system or aluminium canopy.
DIY Storage Ideas:
- Wooden crates or stackable tubs with latches
- Ply drawer systems on cheap runners
- PVC pipes for tool storage
- Cargo nets for overhead storage
- Second-hand pelican or ammo boxes
Use local hardware store materials. It’s amazing what a couple of tie-down points and ratchet straps can achieve.
Budget-Friendly Sleeping Setup
Skip the rooftop tent—for now. Focus on flat, safe sleeping inside or beside your rig.
Options:
- Rear platform bed inside SUV or ute canopy
- Fold-out stretcher under an awning
- Pop-up tent and self-inflating mattress
- Swag bag + insulated mat on the roof platform
Comfort is more about insulation, ventilation, and warmth than fancy gear. See how to improve your sleep space in our guide to creating a comfortable sleeping setup in your rig.
Build a Cheap but Reliable Power System
You don’t need lithium and solar from day one. Start simple.
Entry-Level 12V Power Setup:
- AGM deep-cycle battery (~100Ah)
- Voltage-sensitive relay (VSR) for charging
- Hardwired USB/12V sockets
- Cigarette lighter fridge plug
Optional upgrade portable solar blanket or folding panel for longer stays.
Cable neatly, fuse everything, and avoid drawing from your starter battery.
Water, Food, and Camp Kitchen on a Budget
Camp comfort starts with reliable food and water systems.
Budget Essentials:
- Stackable water jerry cans (20L with taps)
- Pump bottle or gravity-fed tap
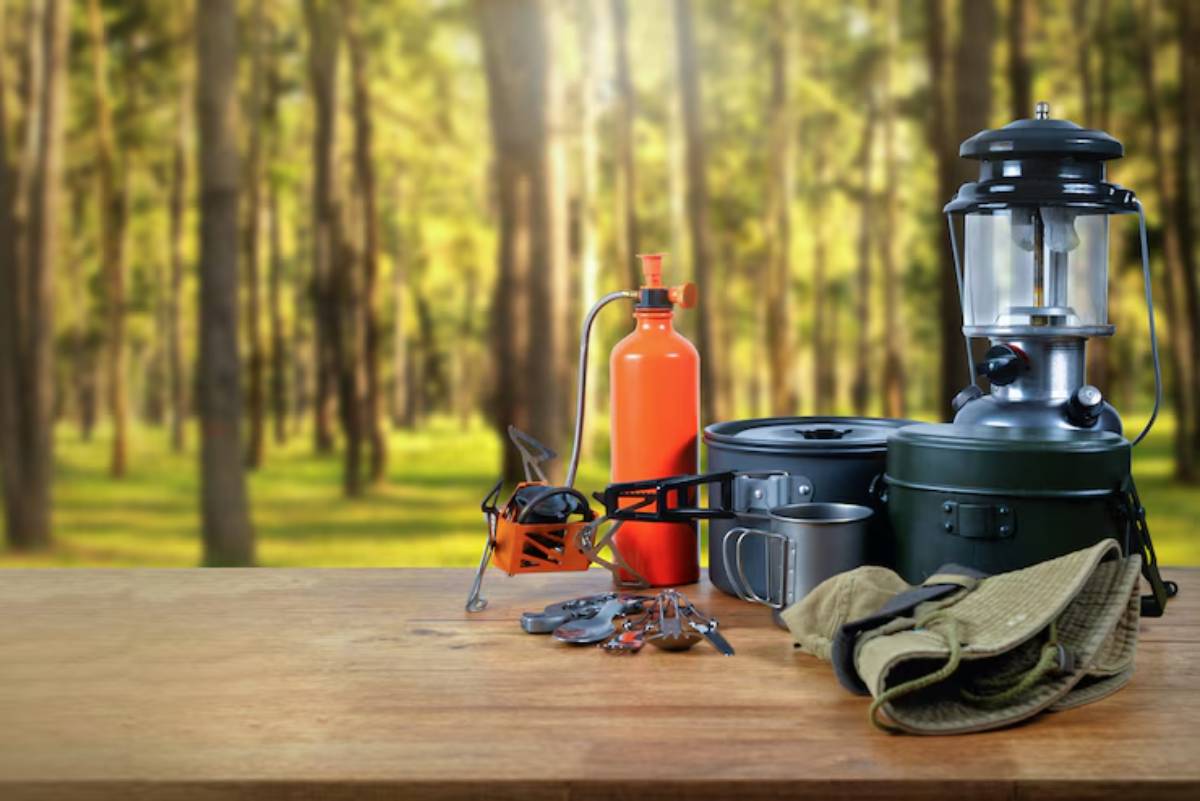
- Two-burner stove (butane or propane)
- Second-hand esky or basic fridge
- Folding camp table and plastic drawers
Organise with tubs labelled ‘kitchen’, ‘pantry’, ‘cleaning’, etc.

Trail Communications and Navigation
Skip the built-in touchscreens. Here’s what you need instead:
Comms:
- Handheld UHF radio (5W+)
- Optional magnetic antenna for better range
Navigation:
- Downloaded maps on your phone (Gaia, onX, Hema)
- Paper maps as backup
- Compass and offline tools
Reuse an old tablet or phone for dash mounting and map display.
Where to Buy Budget Overland Gear
Money-Saving Sources:
- Facebook Marketplace
- Gumtree or Craigslist
- 4WD swap meets
- Clearance sales at BCF, Snowys, or Anaconda
- Online discount stores (Kings, XTM, Adventure Kings)
Always inspect second-hand gear for rust, damage, or missing parts.
Budget Build Case Study: €5K Starter Setup
- 2004 Mitsubishi Pajero (diesel): €3,200
- 2” lift kit + used A/T tyres: €800
- DIY bed platform + kitchen tub setup: €200
- Basic fridge + VSR dual battery: €500
- Camping kit from swap meet: €300
Total: €5,000
They’ve since travelled 7,000+ km with no issues. Over time, they’ve added recovery gear and solar, but the core setup stayed under budget.
Conclusion: Start Small, Travel Far
Your affordable 4×4 setup doesn’t have to be flashy. It just has to work. Focus on reliability, practicality, and incremental upgrades that meet your actual travel needs—not what social media tells you to buy.
With a thoughtful approach to your budget overland build, even a modest rig can take you deep into remote landscapes and back again. It’s not the cost that defines your adventure—it’s the willingness to start, learn, and adapt along the way.
So build smart. Drive slow. Sleep warm. And enjoy the journey in the rig you made your own.
