How to Clean and Maintain Your Off-Road Rig Post-Trip
You’ve just wrapped up a weekend of epic trails—mud-splattered panels, red dust in every crevice, and that lingering campfire smell. While the memories are worth every scrape, now comes the bit most off-roaders overlook: post-trip rig care.
Proper off-road vehicle cleaning isn’t just about appearances. It preserves components, prevents rust, and keeps your rig ready for the next mission. A smart post-trip checklist is your best defence against wear, failure, or that dreaded mechanical bill months down the road.
Whether you tackled creek crossings, snow trails or beach runs, this guide walks you through the essentials of effective trail rig maintenance.
Understanding the Core: Why Post-Trip Cleaning Matters
Every trail adds character to your vehicle, but it also packs grime into bearings, bushings, and breathers.
Key reasons to clean immediately:
- Prevent corrosion from salt, sand, and mud
- Extend the lifespan of the driveline, brakes, and suspension
- Identify damage early (e.g., pinion seal leaks, split boots)
- Preserve resale value
As ARB and 4WD Touring Australia emphasise, a dirty 4×4 hides issues that could become trip-ending faults.
Quick Guide: Post-Trip Cleaning Checklist
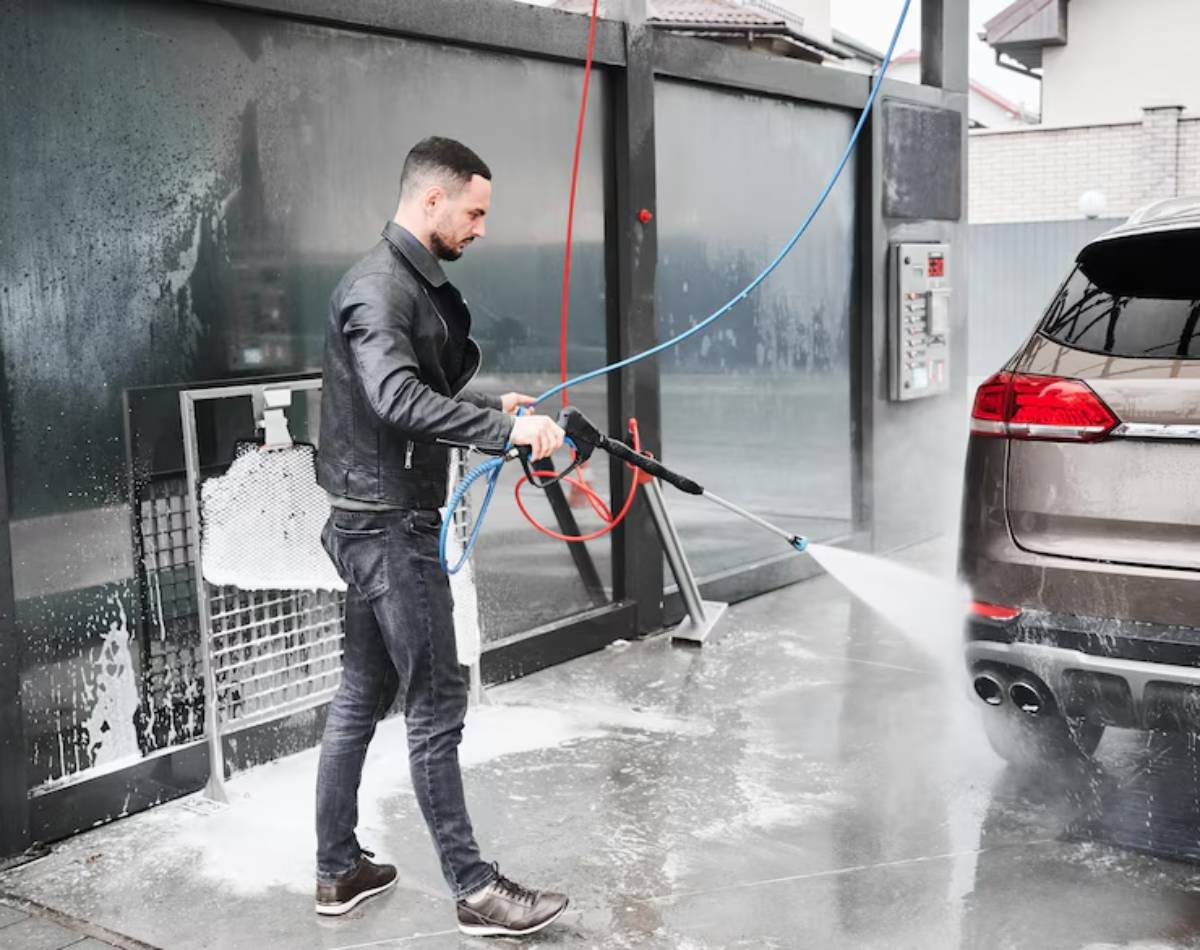
- Pressure wash underbody, arches, and skid plates
- Degrease the engine bay and inspect hoses
- Check the air filter and clean the snorkel head
- Inspect suspension, CV boots, and mounts
- Re-grease bushings, driveshafts, and joints
- Wash, dry, and apply protectant to bodywork
- Clean cabin and restock essentials
- Log tyre damage or trail-induced tweaks
Step-by-Step Guide: Off-Road Vehicle Cleaning Done Right
1. Rinse Before It Bakes On
Mud and salt dry fast in Aussie sun. Start with a hose or pressure washer while it’s still fresh.
- Target wheel wells, diff housings, and crossmembers
- Spray behind skid plates and rock sliders
Use a foam cannon with a salt-neutralising cleaner for beach trips.
Warning: Avoid high pressure on electrical connectors or seals.
2. Clean the Engine Bay
A dirty bay holds heat and hides leaks.
- Cover battery, alternator, and fuse box with plastic wrap
- Spray with degreaser (citrus-based preferred)
- Rinse gently and let air dry
Check for:
- Cracked or loose hoses
- Oil or coolant leaks
- Worn belts
3. Air Intake & Filter Check
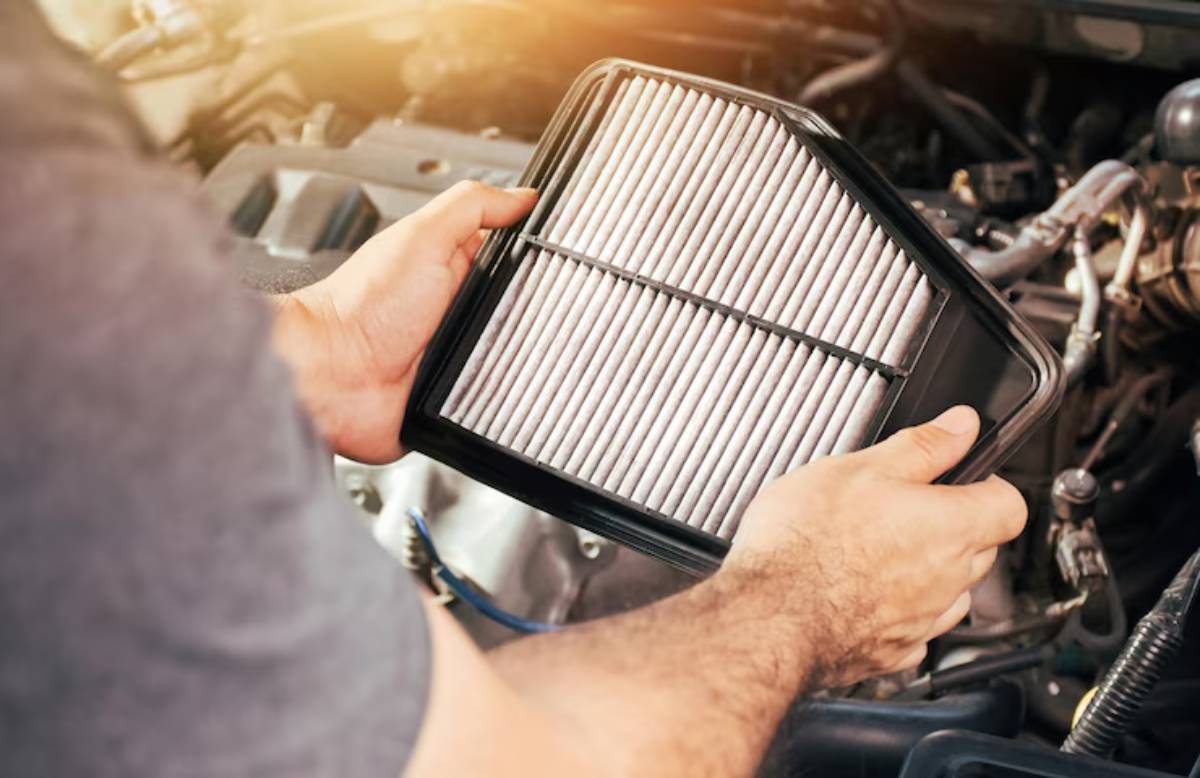
Off-road trails load your filter fast. Clean snorkel head .
- Tap out dust (if paper)
- Clean or re-oil (if foam or cotton)
Replace if it looks saturated.
4. Undercarriage & Driveline Inspection
Crawl under and inspect:
- CV boots for splits or grease leaks
- Control arms and mounts
- Sway bar links and bushings
Look for fresh scrapes on diffs or fuel tanks. Look for fresh scrapes on diffs or fuel tanks—these may signal impact damage where armour installation or upgrades are due.
Pro Tip: Mark your bash plates pre-trip to identify new hits.
5. Re-Grease Critical Points
Apply marine grease to:
- Driveshaft slip joints
- Greasable uni joints
- Suspension bushings
This prevents water ingress and prolongs lifespan.
Pro Tips, Important Notes & Warnings
Pro Tip: Use an underbody sprayer with wheels for thorough rinsing.
Important: Always let the vehicle cool before cleaning the engine bay or brakes.
Warning: Never spray cold water on hot brake rotors—it can cause warping.
Secret Tip: Keep a trail log and jot down odd noises or new behaviours for future checks.
Important: Post-wash, go for a short drive to shake off water and check brake feel.
Best Practices & Additional Insights
Interior & Cargo Cleaning
You’ll be surprised how much grit sneaks inside.
- Vacuum carpets and seats
- Shake out floor mats
- Clean windows and mirrors inside
Restock:
- First aid kit
- Wet wipes
- Fire extinguisher
Paint & Body Maintenance
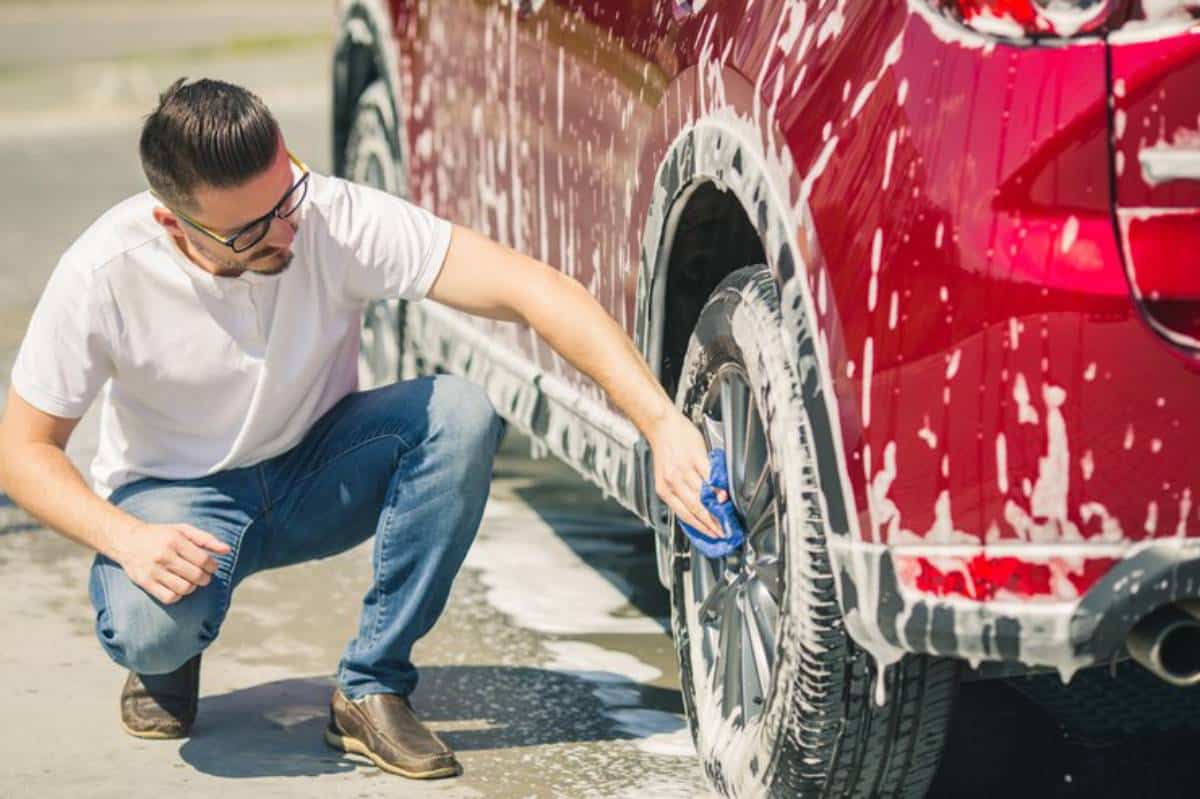
- Wash with a grit guard and the two-bucket method
- Dry thoroughly
- Apply ceramic spray or wax for UV and dirt resistance
Consider vinyl wrap for high-contact panels.

Gear Repack and Prep
Check and clean all gear:
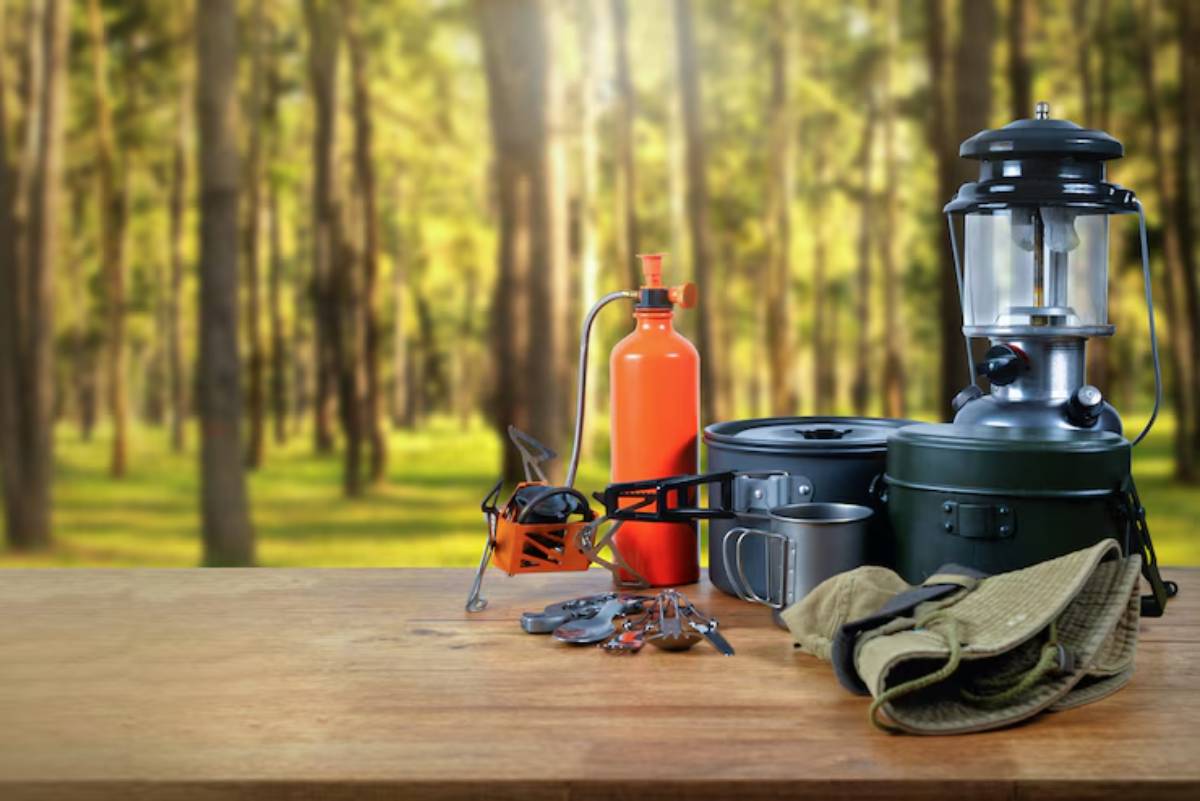
- Gas cookers
- Tent pegs
- Fridge vents
- Recovery boards
Update your pack list and note what wasn’t used. If you plan to tackle deep water trails next, learn smart prep via our waterproofing tips for deep water crossings guide.
FAQs
Can I just use a drive-through car wash after a trip?
Not enough. Most don’t clean the underbody or remove trail grime from key suspension points.
How do I know if I’ve damaged something under the rig?
Look for fresh metal scrapes, leaking fluids, or grease at CV joints. Listen for new rattles.
Should I wash my recovery gear too?
Absolutely. Straps, boards, and gloves can rot or degrade if stored dirty or damp.
What should I do if I drove through saltwater?
Rinse immediately. Salt is highly corrosive. Use salt-removal sprays and re-grease all points.
How often should I deep-clean my rig?
After every trip, which includes water crossings, mud trails, or sand dunes,
Keep Your Trail Rig Trail-Ready
You wouldn’t head out without checking your gear, so don’t come home and ignore it.
Comprehensive trail rig maintenance and proper off-road vehicle cleaning ensure your investment stays reliable, safe, and ready to perform. A systematic post-trip checklist lets you discover wear, extend longevity, and roll confidently into the next off-road adventure.
Show your rig the respect it deserves—and it’ll keep carrying you to those bucket-list campsites and beyond.
