Spare Tyre Setup for Long-Distance Off-Roading
It’s a familiar sound a sudden hiss, a thud, and that unmistakable tilt as your rig slows to a crawl. A puncture isn’t just inconvenient—it can be mission-ending if you’re off-grid without a plan. That’s why your spare tyre mounting and storage strategy deserves more than last-minute attention.
When you’re preparing for a multi-day overland trip, tyre reliability is critical. From gravel cuts to rock strikes, remote terrain throws everything at your wheels. So, whether you’re carrying one spare or two, storing it on a roof rack or a swing-out carrier, this guide will help you build a smart off-road tyre storage setup.
Let’s walk through the key considerations, tools, and best practices for long trip preparation—so when things go wrong, you’re already set up to keep rolling.
Why Spares Matter More Off-Road
On the motorway, a puncture might mean a call to roadside assistance. But off-road, you’re on your own.
Key Reasons to Prioritise Spare Tyre Planning:
- No service stations in remote regions
- Increased risk of punctures from sharp rocks, sticks, or heat
- Limited access to mobile signals for calling for help
- Long distances between tyre shops or recovery services
Having a spare isn’t just about fixing a flat. It’s peace of mind and trail confidence.
How Many Spares Do You Need?
For most weekend trails, a single full-size spare is fine. But for longer or more remote trips, especially international or multi-week adventures, consider carrying two.
Carrying A Spares Is Wise If:
- You’re travelling with heavy loads
- You’re exploring regions with no nearby services
- You’re tackling rough, unmaintained routes
- Your tyre size is hard to find or special-order
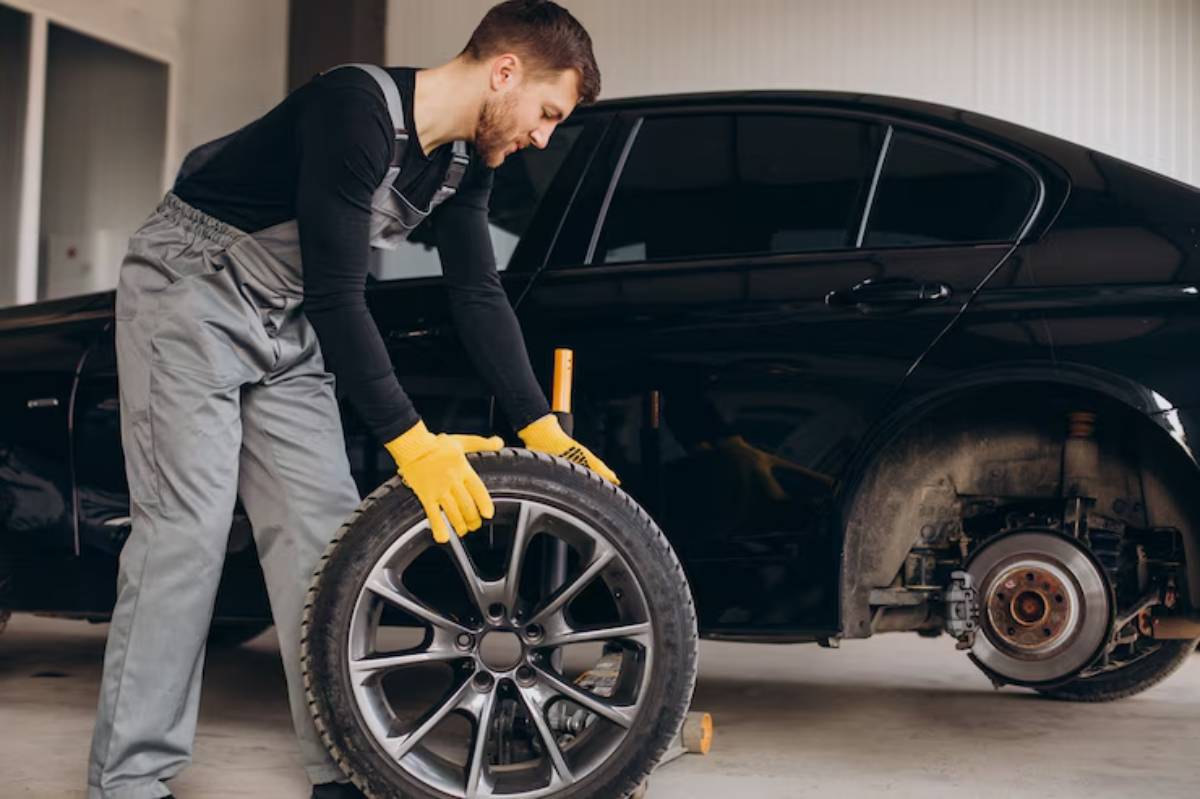
A second spare could be mounted or stored as an unmounted tyre (just the rubber), to be swapped onto a rim later in emergencies.
Best Spare Tyre Mounting Options
Your mounting choice depends on your rig, gear load, and accessibility.
1. Rear Swing-Out Carrier
- Keeps the tyre out of the cabin space
- Easy access and visual checks
- May block rear door or tailgate access
2. Roof Rack Mount
- Good for rigs without rear carriers
- Frees up interior space
- Requires lifting a heavy tyre overhead
3. Rear Door Mount (Factory Style)
- Easy and common on many 4x4s
- Limited to smaller tyre sizes
- Can strain hinges over time with heavy rubber
4. Cargo Area (Interior)
- Weatherproof
- Requires sacrificing space inside
- Less secure during rough driving if not strapped down properly
Each option has trade-offs. Pick the one that balances security, weight distribution, and access for your setup.
Off-Road Tyre Storage Tips
Whether mounted externally or stashed inside, how you store your spare matters.
Key Storage Considerations:
- Secure all mounts with rated hardware and safety cables
- Keep valves protected from sunlight and rock damage
- Inspect pressure monthly, especially before long trips
- Check straps or mounting arms after rough sections
A loose tyre can be dangerous in a rollover or crash. Never mount with makeshift brackets or bungee cords.
Tyre Repair vs Spare: What’s Your Backup Plan?
In many cases, a repair kit gets you moving again. But only if the damage is small and manageable.
Carry Both:
- Tyre plug kit for punctures (not sidewalls)
- Bead seating tool or compressor
- Valve core tools and spare stems
- Patches or tyre slime for slow leaks
If you rely on plugs alone without a spare, you’re gambling. Repairs are temporary fixes—spares are insurance.
For more details on post-trip tyre care, read our guide on how to clean and maintain your off-road rig.
Real-World Setups: What Other Overlanders Use
In the Moroccan Atlas Mountains, one group ran double rear-mounted spares and still needed a tyre change after two shredded sidewalls. Their solution? Mount one, strap one to the roof, and rotate every two days to balance wear.
In Australia’s outback, an overlander stored a second spare unmounted in the rear cargo drawer. It saved their trip when a razor-sharp rock split the sidewall 200km from help. They limped to the next town, fitted the spare on the original rim, and continued.
Both stories prove the point over-prepare, and you won’t be caught off guard.
Spare Tyre Prep Before Departure
A spare is only useful if it’s ready.
- Tyre pressure is correct (match to primary tyres)
- Tread depth is adequate
- Sidewalls are free from cracks or dry rot
- Rim condition if pre-mounted
- Compatibility with your wheel nuts and hub pattern
Don’t forget a working jack, breaker bar, and torque wrench. Bonus paint a mark on your wheel nuts to spot loosening on the trail.
Balancing Weight and Safety
Spare tyres are heavy. Poor weight distribution.
- Affect suspension performance
- Increase fuel use
- Stress your mounting points
- Create handling issues
Mount lower on the vehicle where possible. If roof-mounted, keep speed down and load light.
Conclusion: Stay Rolling, No Matter the Terrain
When you’re hundreds of miles from the nearest shop, a properly planned spare tyre setup can make or break your adventure.
Think of your spares not as an afterthought, but as an active part of your recovery and logistics plan. Mount them safely, inspect them regularly, and make sure your tools match the tyre.
Because it’s not if you’ll need them, it’s when.
Want to go further? Get the most from your tyres with our guide on airing down for traction and explore how small pressure changes make big trail differences.
